INSTALL DRAINAGE PIPE
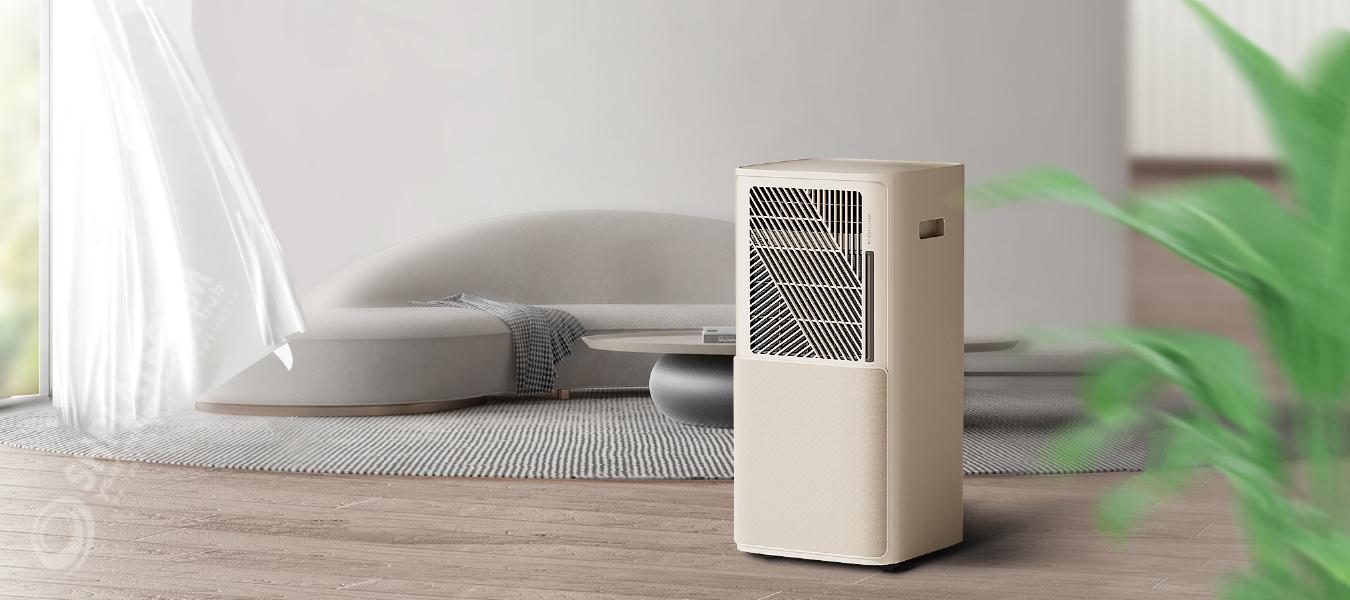

Set up the appliance
 NOTE
NOTE
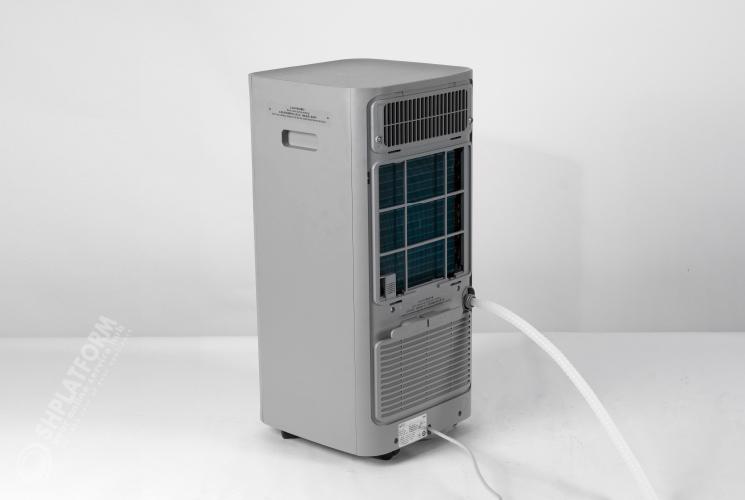
Dehumidification would generates condensed water. This product is equipped with two drainage methods, one is the water tank supplied with the machine. Another is a drainage pipe.
The following is an introduction to the installation method of drainage pipes.
Through the video, you can quickly learn about the installation techniques of drainage pipes. If you feel that the video playback speed is too fast to understand key details, you can go to the steps section for more detailed information.
HOW TO INSTALL DRAINAGE PIPE
Vedio Description:
This video mainly demonstrates three important methods:
1. Introduce how to twist the sealing cover of the machine's drainage outlet;
2. Displayed interfaces with different sizes and diameters at both ends of the drainage pipe;
3. Introduce how to install the drainage pipe to the machine's drainage outlet.

INSTALL DRAINAGE PIPE
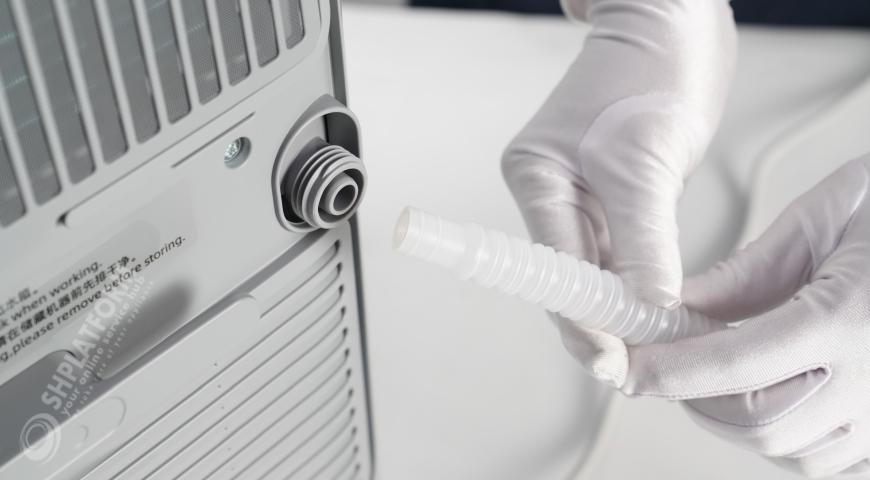
Unscrew the cover cap of drainage outlet.
 NOTE
NOTE
Disconnect the machine with power supply.

Unscrew the cover cap of drainage outlet.
NOTE
Disconnect the machine with power supply.
Unscrew the cover counterclockwise.
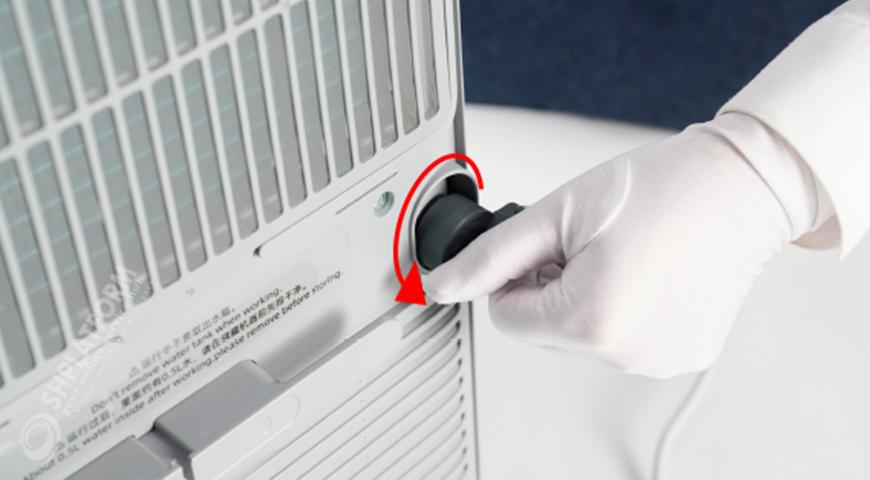
Unscrew the cover counterclockwise.
Place a towel under drainage outlet before unscrewing the cover cap to prevent water from the drainage outlet from dirtying your floor.
Place a towel under drainage outlet before unscrewing the cover cap to prevent water from the drainage outlet from dirtying your floor.
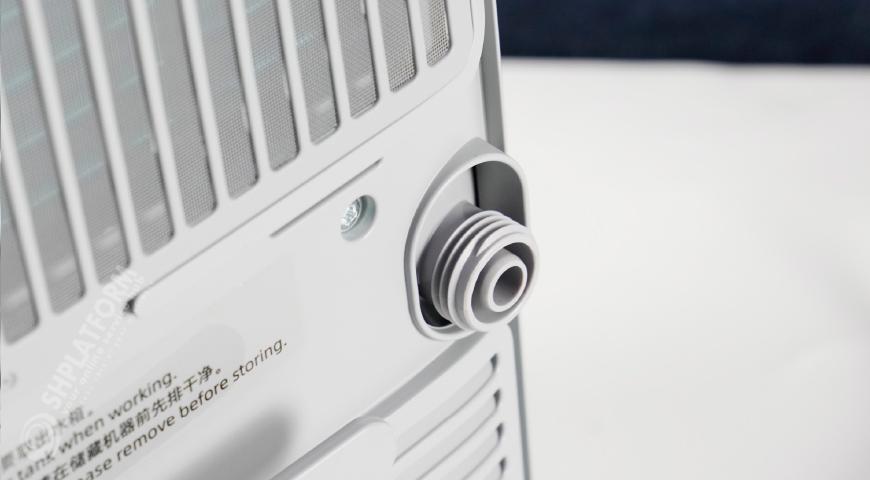
Insert the small connector of the drainage pipe slightly into the drainage outlet.
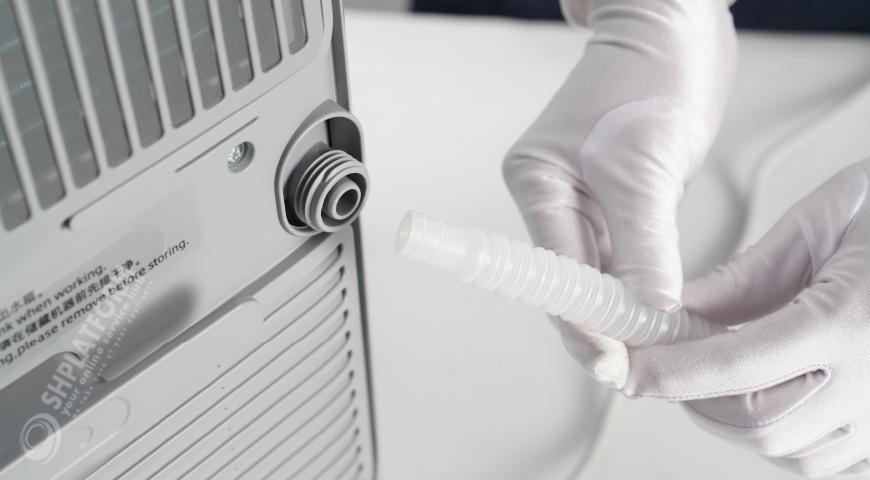
Insert the small connector of the drainage pipe slightly into the drainage outlet.
The diameters at both ends of the drainage pipe are inconsistent. Please insert the small diameter end into the drainage outlet.
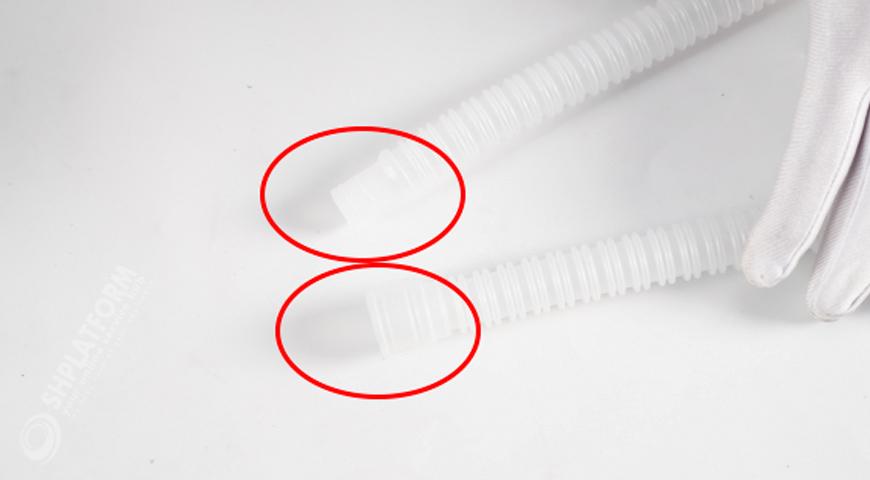
The diameters at both ends of the drainage pipe are inconsistent. Please insert the small diameter end into the drainage outlet.
It requires slight force to insert into place.

It requires slight force to insert into place.
Connect the other end of the drainage pipe to the floor drain.

Connect the other end of the drainage pipe to the floor drain.
The altitude of the water outlet should not be higher than the outlet of water drain, so that condensate water can be discharged smoothly.
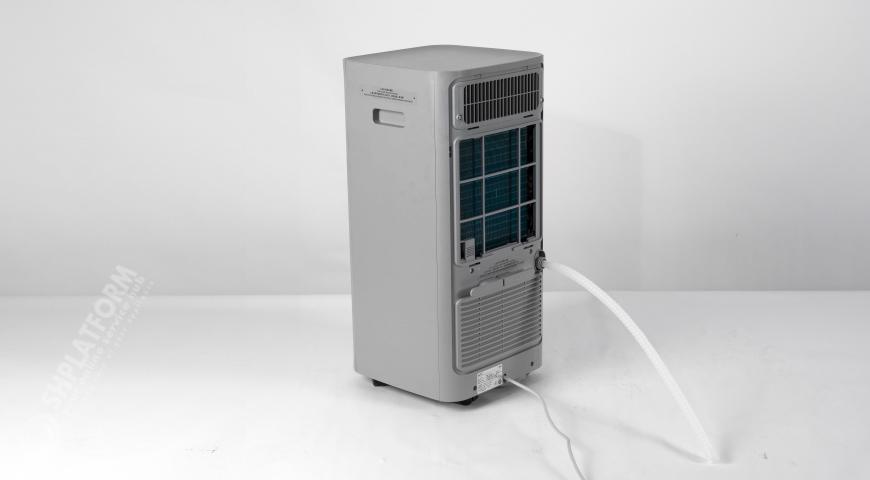
The altitude of the water outlet should not be higher than the outlet of water drain, so that condensate water can be discharged smoothly.
Regularly inspect the drainage adapter and drainage pipe to ensure they are still connected properly and not damaged or blocked.
Regularly inspect the drainage adapter and drainage pipe to ensure they are still connected properly and not damaged or blocked.

© Copyright 2023 SHPlatform | All rights reserved