
Please follow the steps below to try to find the causes and solve the problem.

no Reminders on display
The machine operates normally and produces a large amount of dehumidification water, but the indoor humidify is not changed so much.

The machine operates normally and produces a large amount of dehumidification water, but the indoor humidify is not changed so much.
The machine operates normally and produces a large amount of dehumidification water, but the indoor humidify is not changed so much.
The voltage is unstable, resulting in insufficient effective operating time.

The air inlet is blocked, or there are other objects near air inlet blocking the inhalation of wet air.

The filter screen is dirty and blocked, causing insufficient suction of the machine, resulting in poor dehumidification effect.
Doors and windows not closed/poor room sealing.
Other reasons.

Please follow the steps below to try to find the causes and solve the problem.
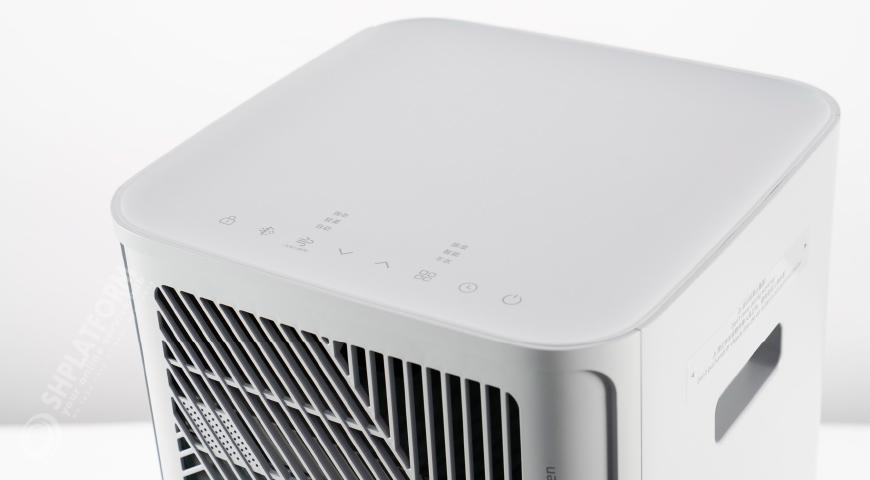
Check if the voltage is stable by observing household electrical appliances such as light bulbs.
 NOTE
NOTE
When the voltage fluctuation exceeds 10%, the machine will activate the protection function and stop running to avoid burning the machine.
In this case, the effective running time of the machine will be shortened, resulting in a decrease in dehumidification effect within the same time.
Check if the voltage is stable by observing household electrical appliances such as light bulbs.
NOTE
When the voltage fluctuation exceeds 10%, the machine will activate the protection function and stop running to avoid burning the machine.
In this case, the effective running time of the machine will be shortened, resulting in a decrease in dehumidification effect within the same time.
It is recommended to purchase voltage stabilizing equipment to ensure that the machine is always in a stable operating state.
It is recommended to purchase voltage stabilizing equipment to ensure that the machine is always in a stable operating state.
Please follow the steps below to try to find the causes and solve the problem.
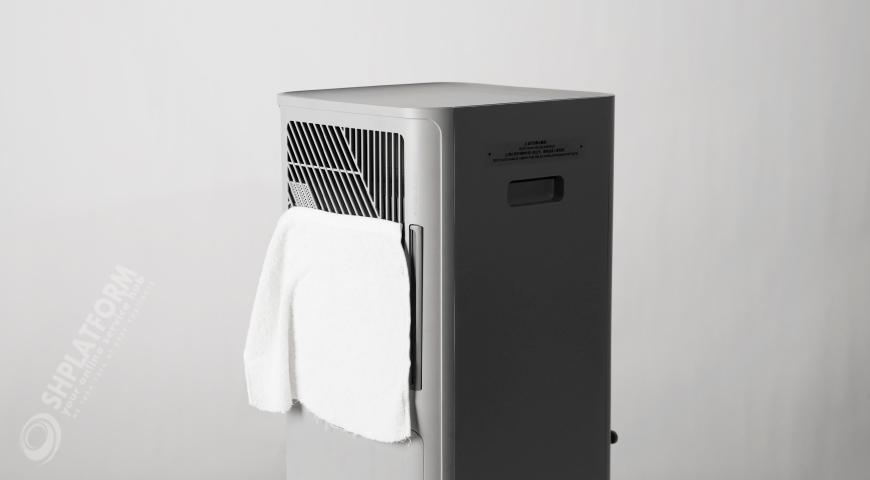
Check whether the return air outlet is blocked by clothes, towels, etc., affecting the air circulation.
If so, remove it.
Check whether the return air outlet is blocked by clothes, towels, etc., affecting the air circulation.
If so, remove it.
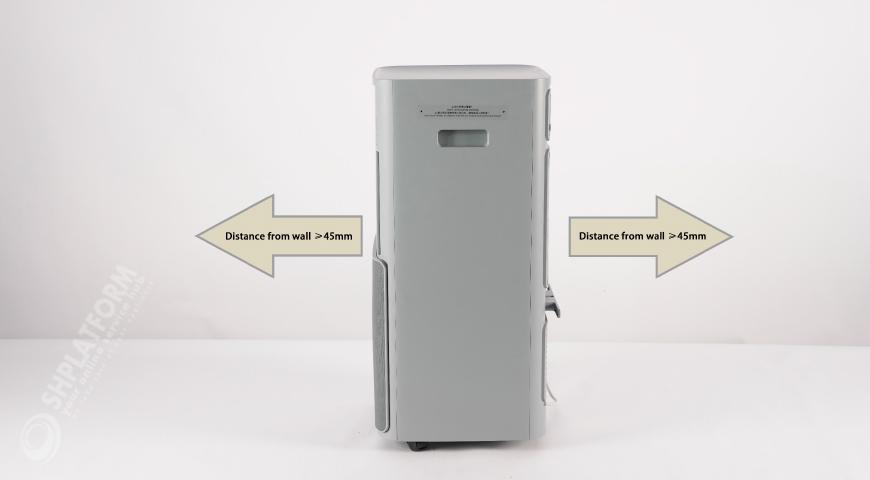
Please check if the distance between the air inlet and the wall is less than 45cm( please consider both of the front and back side)
If so, please adjust the install location of the machine.
Please check if the distance between the air inlet and the wall is less than 45cm( please consider both of the front and back side)
If so, please adjust the install location of the machine.
With this video, you can quickly learn how to clean your filter in just one minute. If you feel like the video plays too fast to understand key details, you can go to the steps section for more detailed information.


1
2
3
4
5

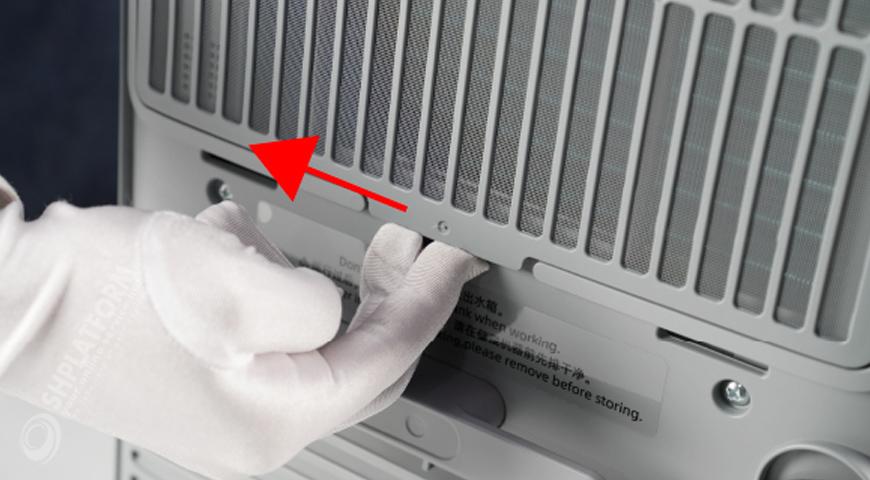
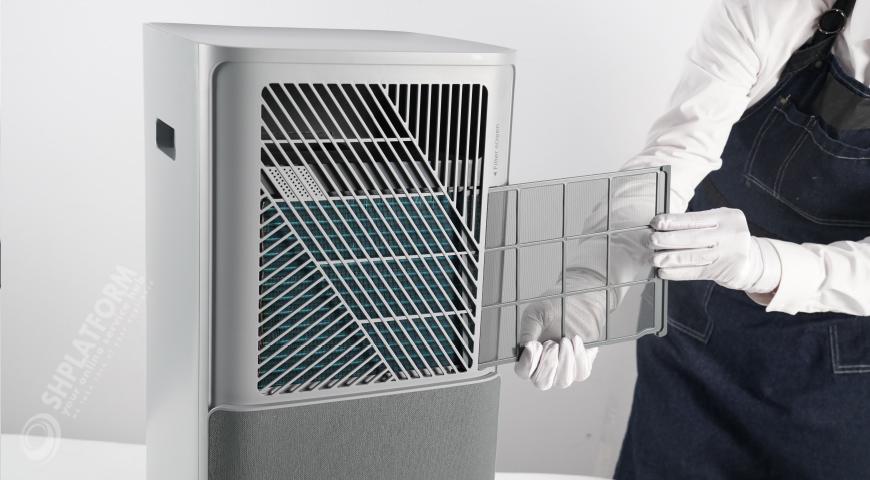
PROCEDURE 1:Remove the front filter screen
After the dehumidifier has been running for a total of 250 hours, the filter cleaning indicator light will light up to remind you to clean the filter.
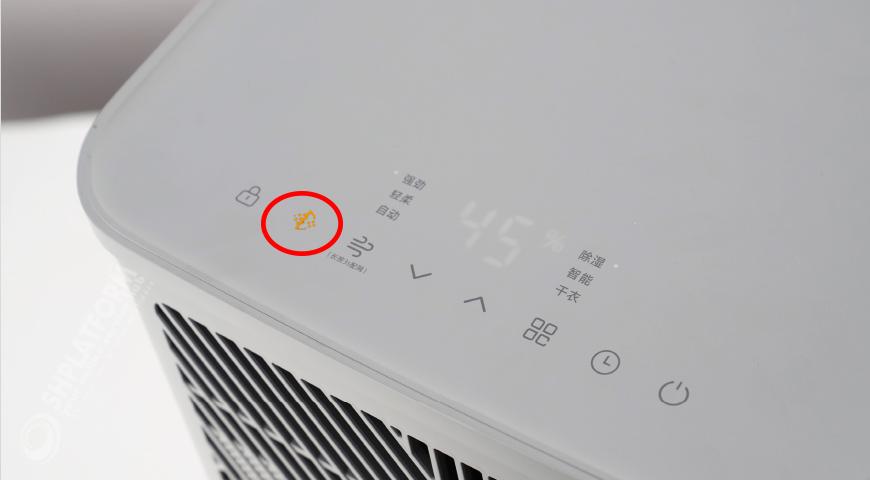
After the dehumidifier has been running for a total of 250 hours, the filter cleaning indicator light will light up to remind you to clean the filter.
Press power-on button to stop the machine from working.
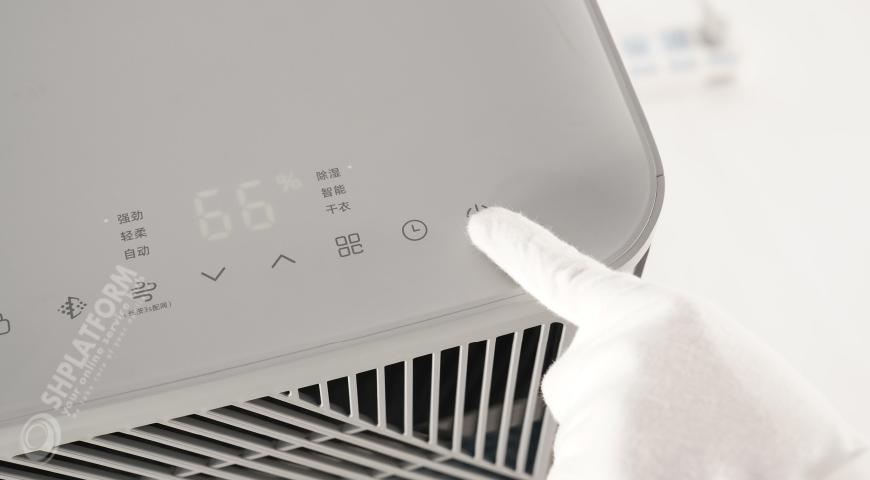
Press power-on button to stop the machine from working.
Unplug the power plug and turn off the machine.
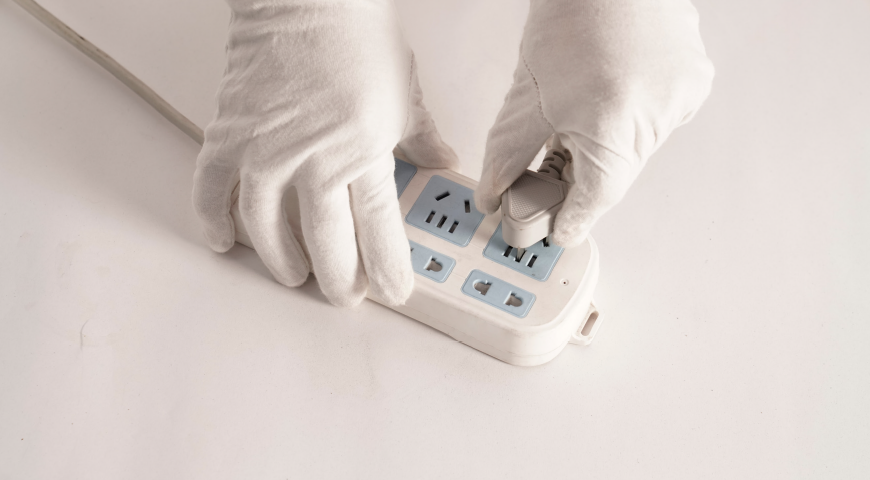
Unplug the power plug and turn off the machine.
Remove the front filter screen.
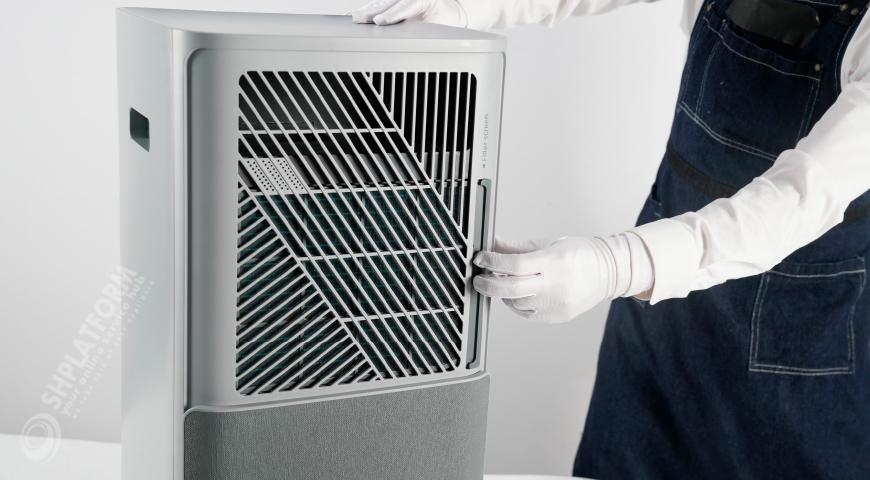
Remove the front filter screen.
Pull front filter screen out.
Pull front filter screen out.

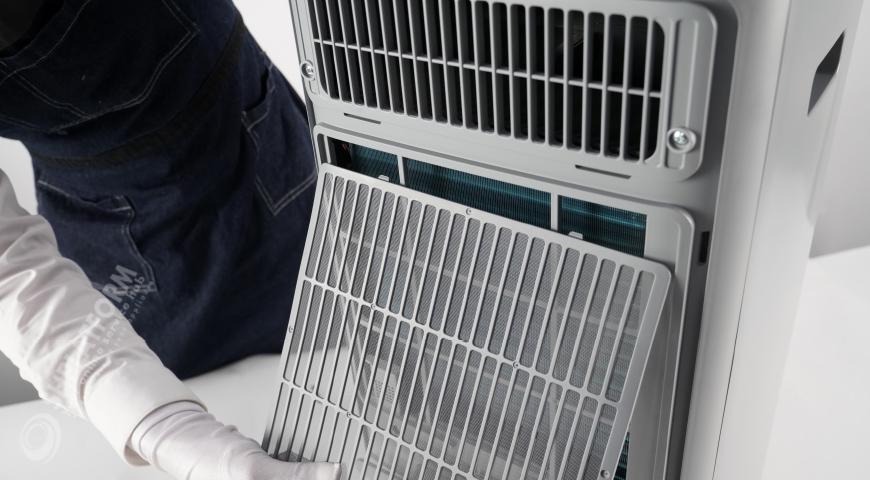
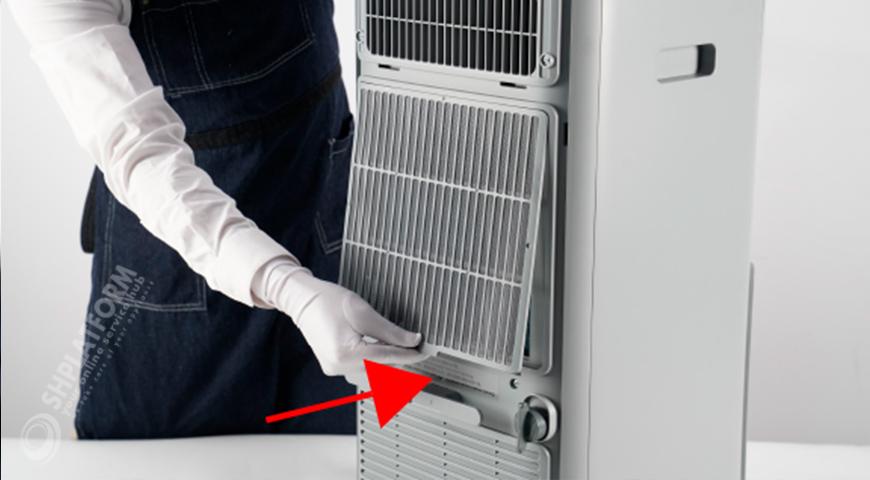
PROCEDURE 2: Remove the front filter screen
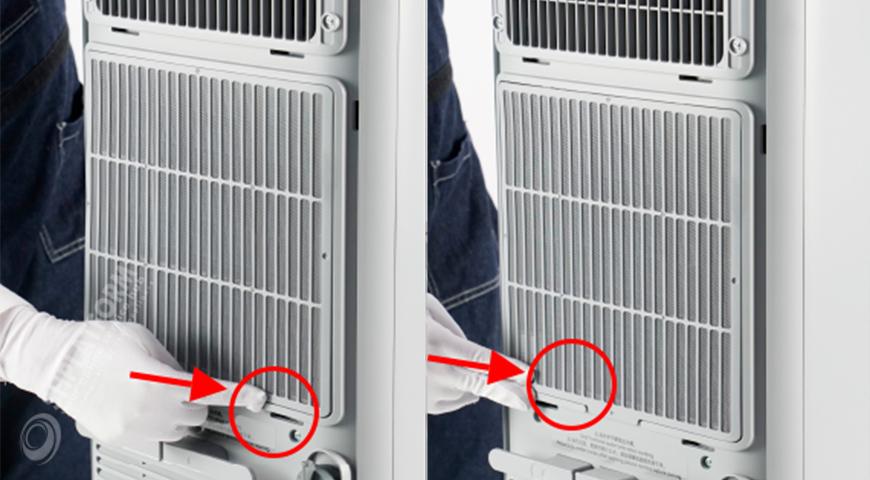
Remove the back filter screen.
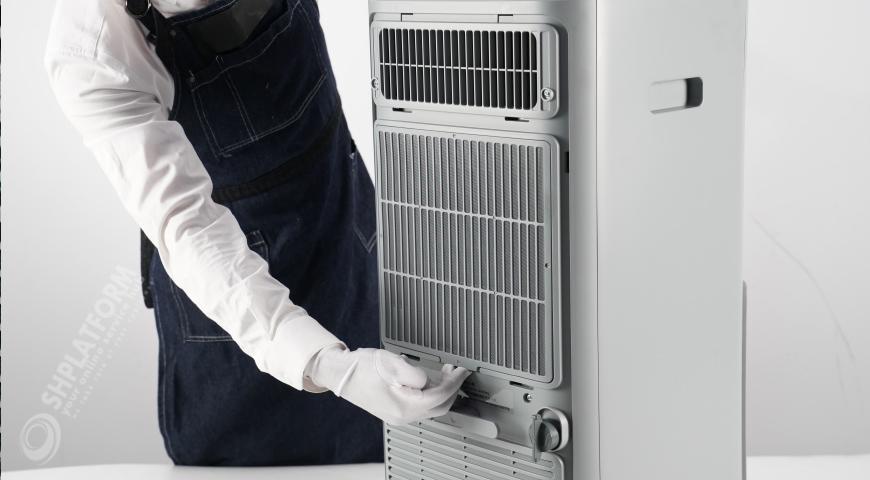
Remove the back filter screen.
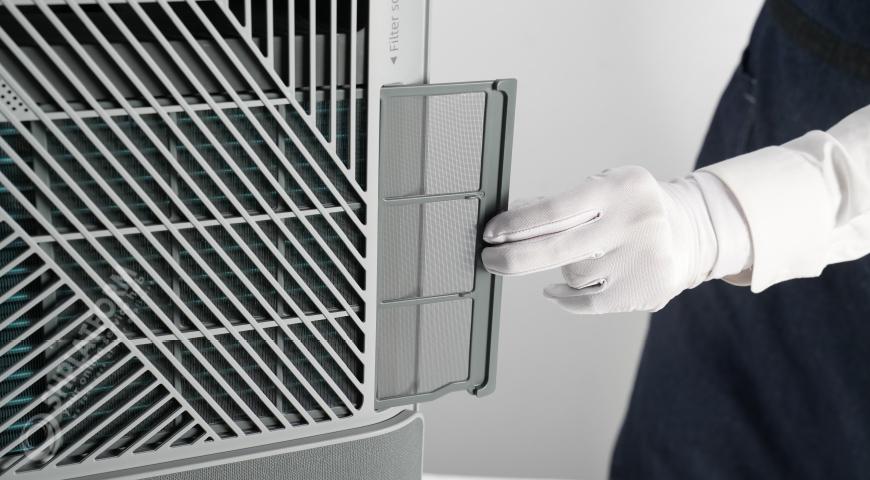
Place your fingers on the handle of filter screen, push it upwards and then pull it outwards to loosen the buckle.
Place your fingers on the handle of filter screen, push it upwards and then pull it outwards to loosen the buckle.
Take the back filter screen away.
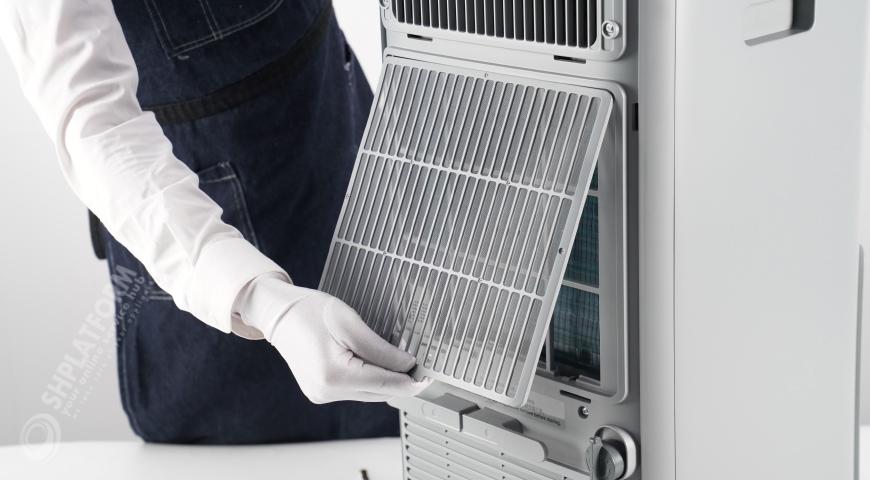
Take the back filter screen away.
Remove the back filter screen and expose the evaporator. Please do not touch the fins of the evaporator with your hands as they may be scratched.
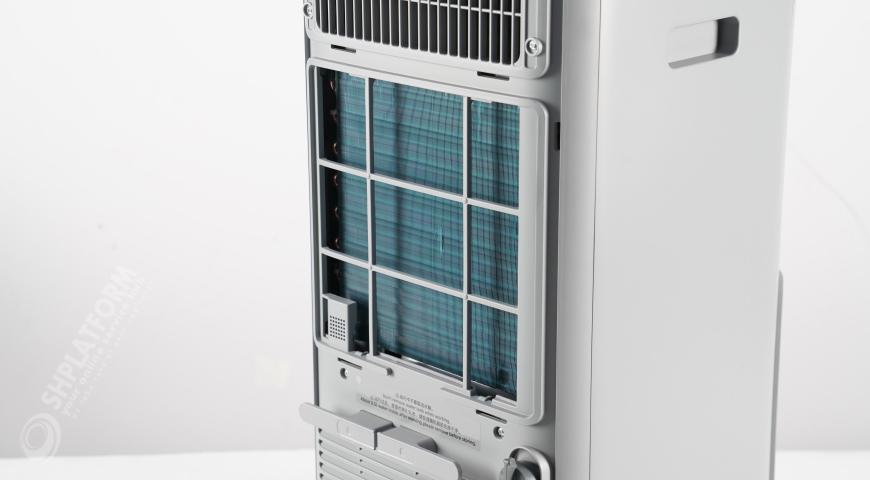
Remove the back filter screen and expose the evaporator. Please do not touch the fins of the evaporator with your hands as they may be scratched.

PROCEDURE 3: Clean filter screens
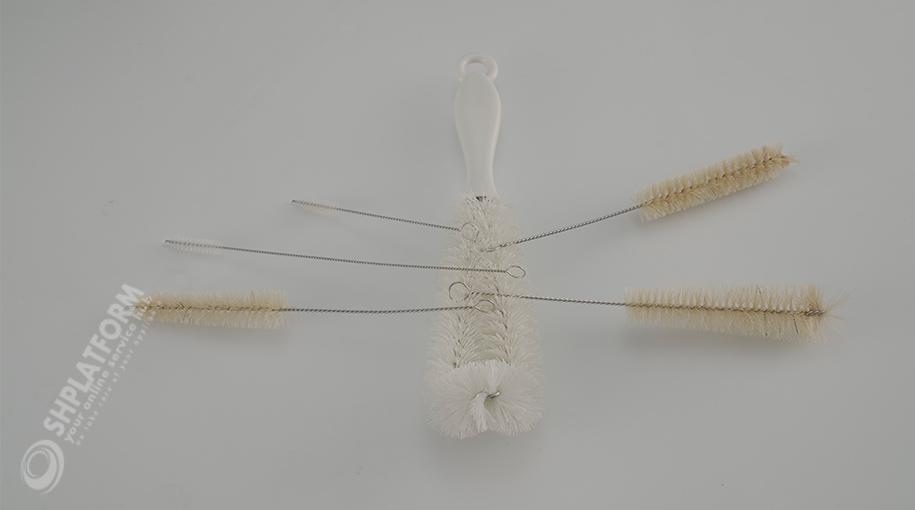
Clean the front and back filter screens.
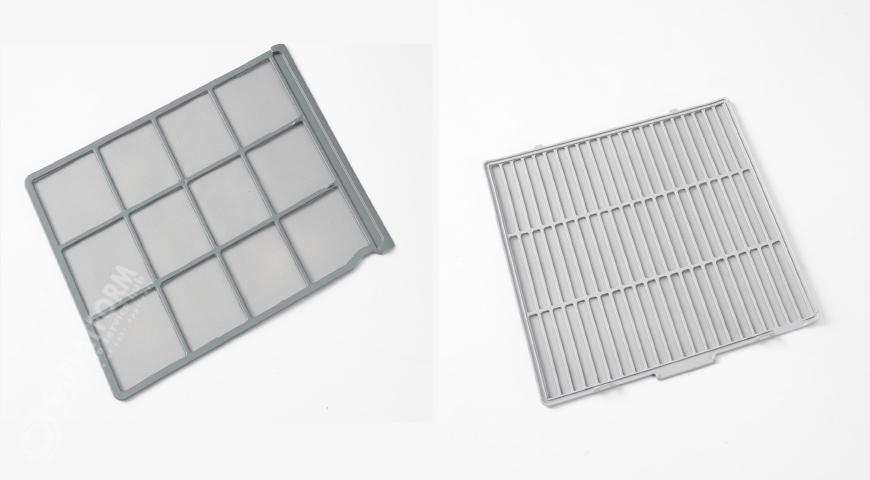
Clean the front and back filter screens.
Brush the front filter screen.
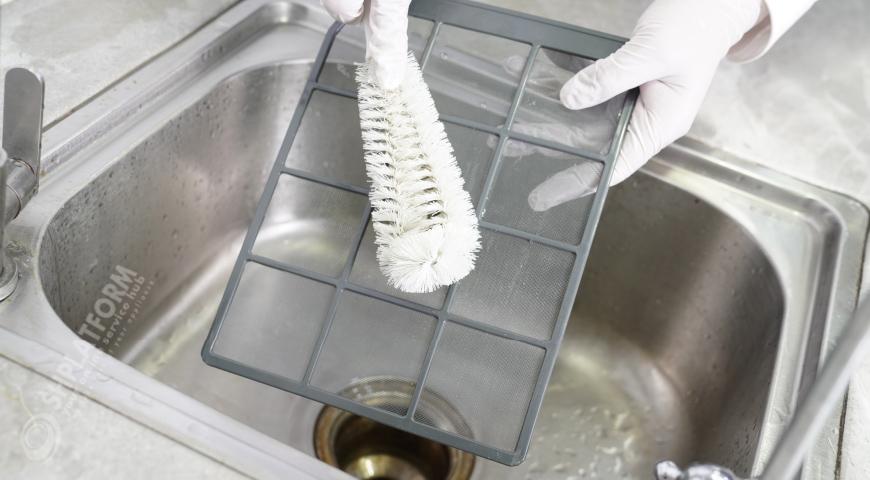
Brush the front filter screen.
Flush the front filter screen.
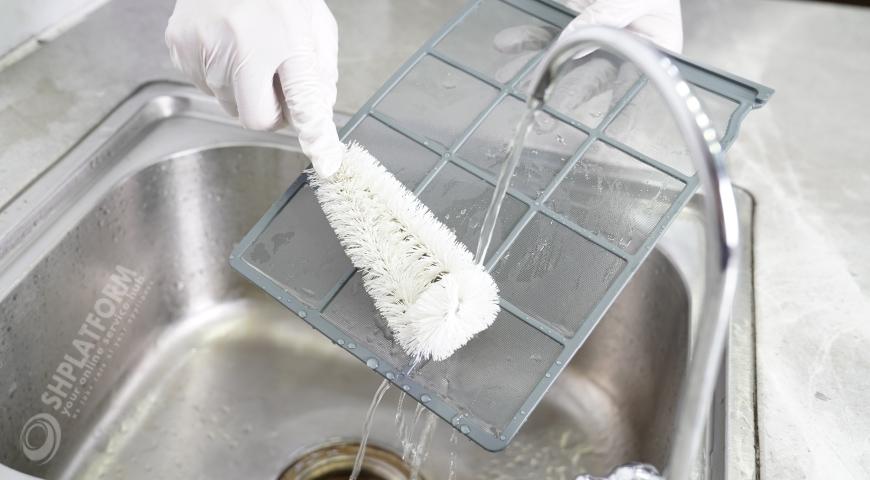
Flush the front filter screen.
Brush the back filter screen.
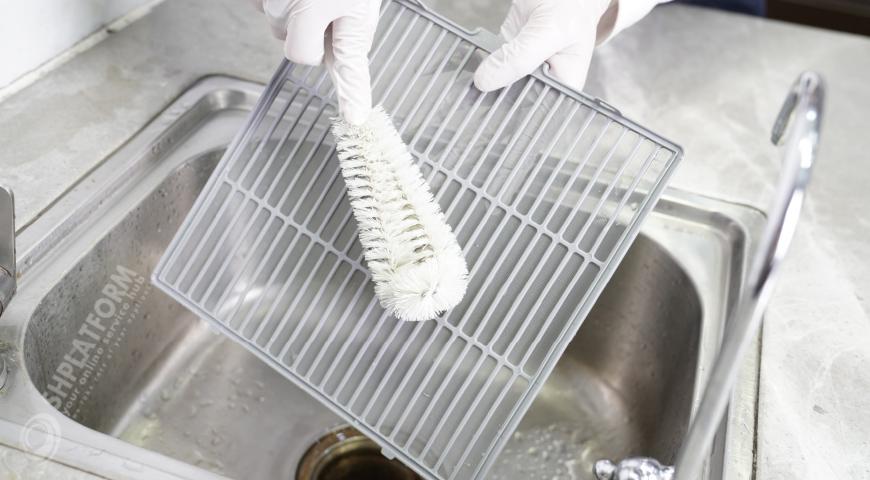
Brush the back filter screen.
Flush the back filter screen.
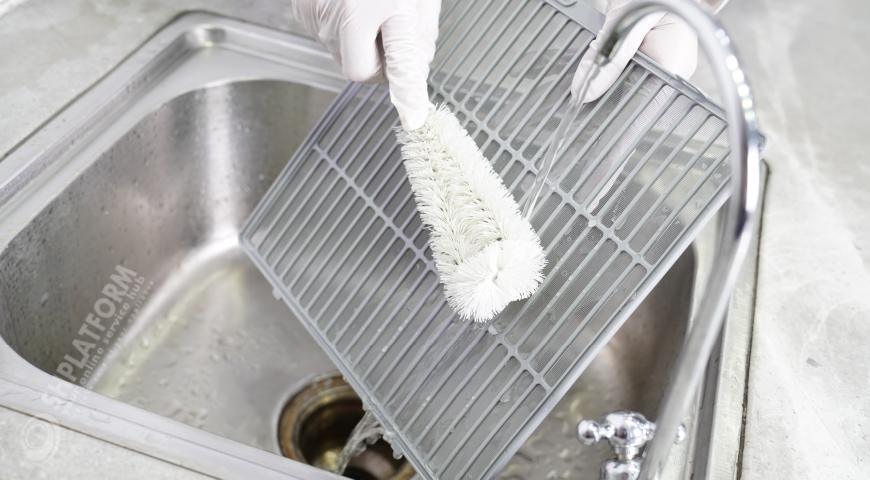
Flush the back filter screen.
Wipe the front and back filter screens dry.

Wipe the front and back filter screens dry.

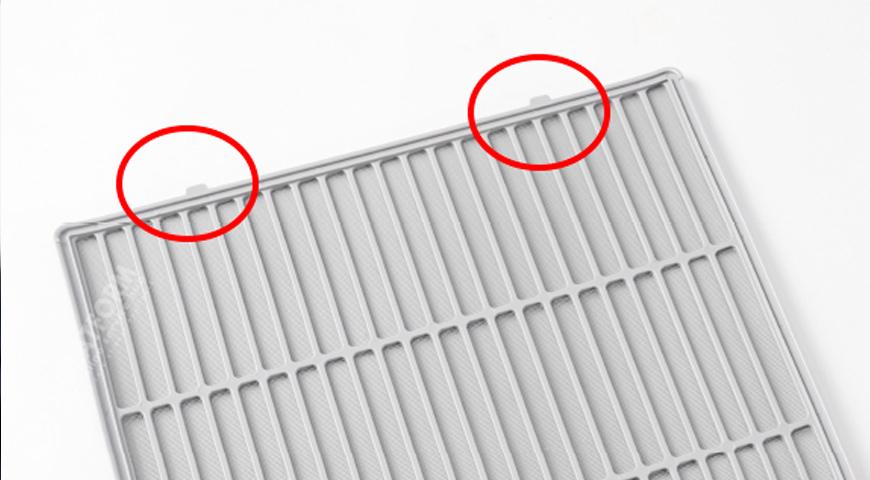
PROCEDURE 4: Install front filter screen
Install the front filter back.
Install the front filter back.
Do not install the front filter upside down, with the notched side facing down.
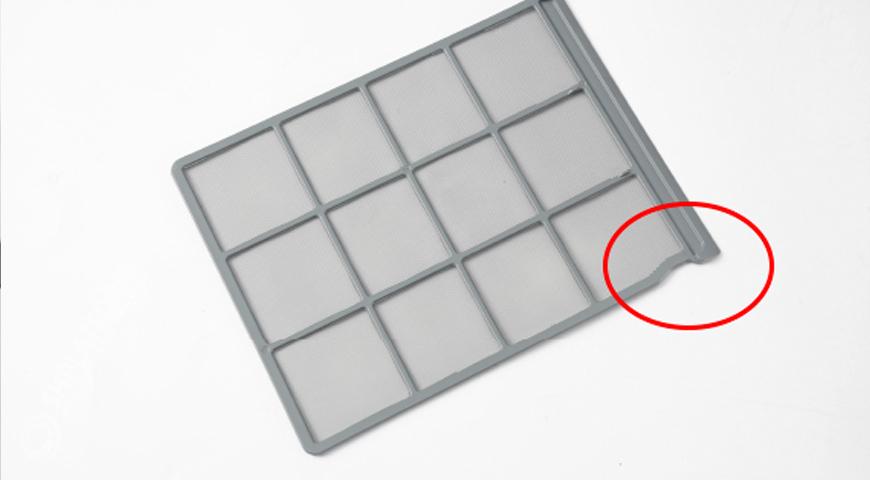
Do not install the front filter upside down, with the notched side facing down.
Push the front filter into its final position.
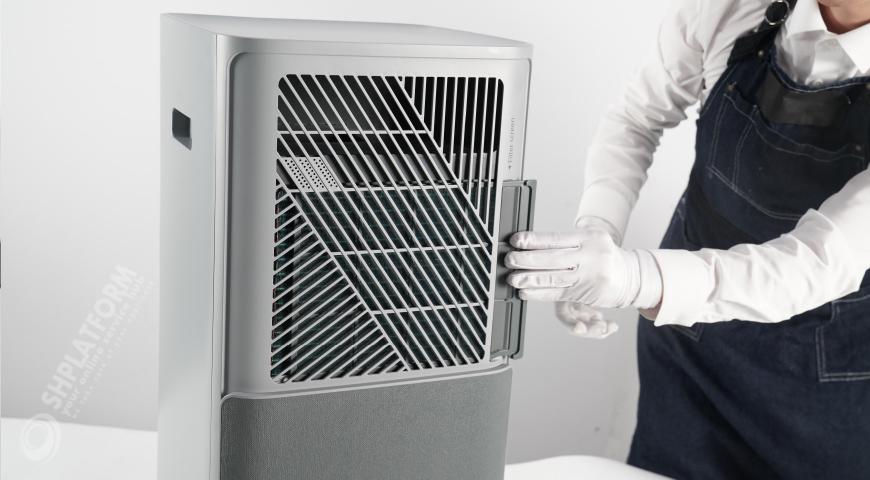
Push the front filter into its final position.
PROCEDURE 5:Install back filter screen
Install back filter screen.
Install back filter screen.
Insert the buckle of back filter into the slot.
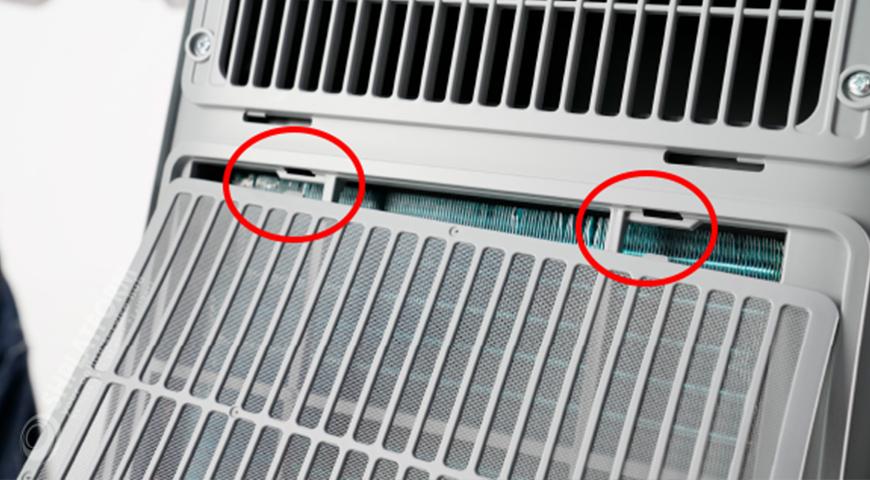
Insert the buckle of back filter into the slot.
The two upper buckles of back filter should be buckled into right place.
The two upper buckles of back filter should be buckled into right place.
Press the buckle.
Press the buckle.
The two lower buckles of back filter should be buckled into right place.
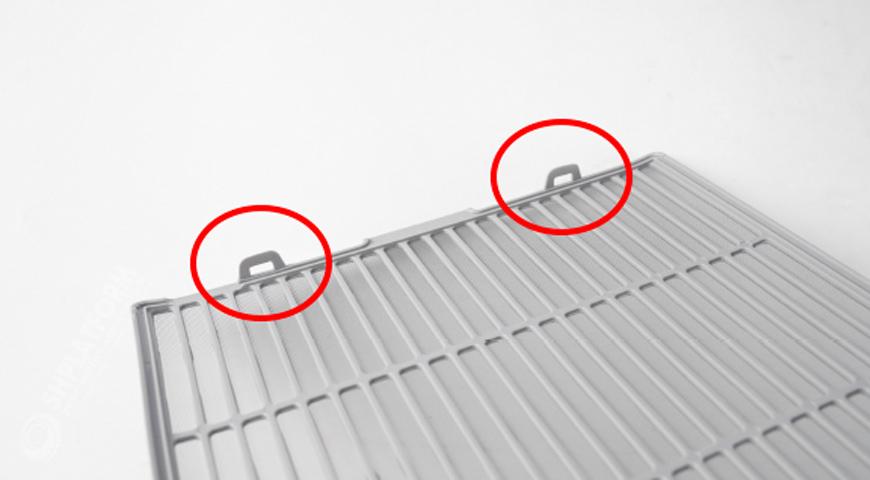
The two lower buckles of back filter should be buckled into right place.
Press once to make sure the two buckles are in right place.
Press once to make sure the two buckles are in right place.

Please close the doors and windows when using the machine to improve the dehumidification effect; If the airtightness of the room is too poor and there is a large exchange of air flow with the outside, it will also affect the dehumidification effect.
If the above solutions cannot solve the problem, it is preliminarily determined that there is an abnormality in the refrigeration system. The reworking of the refrigeration system requires professional technical knowledge, otherwise it may cause safety issues to the user. Please call the service center for help.

© Copyright 2023 SHPlatform | All rights reserved